
Set up your first workspace
A workspace is the home for your HeyStream broadcasts, series, contacts, settings, integrations, recordings, and insights. Set up the workspace first so every broadcast starts with the right brand, timezone, and defaults.
Before you start
You will need access to the workspace settings. If you are setting up a workspace for a team, decide which brand name, logo, timezone, and public description you want attendees to see.
Open workspace settings
Sign in to HeyStream.
Choose the workspace you want to configure from the workspace switcher.
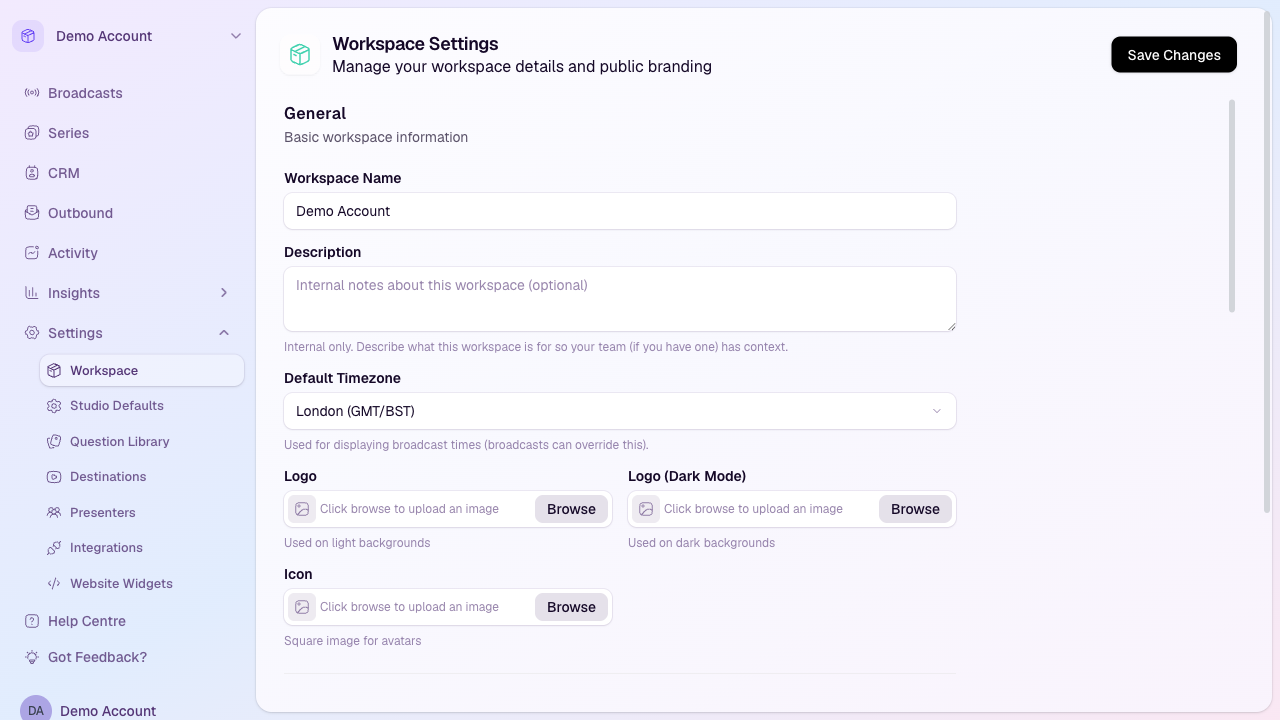
In the sidebar, open Settings.
Select Workspace.
Add the workspace details
Start with the general workspace information. These settings help your team recognise the workspace and keep broadcast times consistent.
Workspace name: The internal name shown inside HeyStream.
Description: Optional internal context for your team.
Default timezone: The timezone used when displaying broadcast times. Individual broadcasts can still override this if needed.
Set your public branding
Your public branding helps registration and watch pages feel connected to your organisation. Add the public-facing brand details that attendees should see.
Logo: Upload the logo used on light backgrounds.
Logo for dark mode: Upload an alternate logo if your standard logo does not work well on dark backgrounds.
Icon: Upload a square brand image for compact avatar-style placements.
Public brand name and description: Use the name and short description attendees should recognise on hosted pages.
Review workspace defaults
After the core workspace settings are in place, review the defaults that affect new broadcasts. These can save setup time when your team runs similar sessions repeatedly.
Open Studio Defaults to set default live production behaviour.
Open Question Library to create reusable registration questions.
Open Destinations to add extra places you stream to, such as social or video platforms.
Open Integrations to connect CRM, email, notification, or payment tools.
Open Website Widgets to create embeddable registration widgets for your own site.
Save your changes
When you have finished editing the workspace settings, select Save Changes. Your future broadcasts can now use these workspace-level details and defaults.
Next step
Once the workspace is ready, create your first broadcast and check the registration, presenter, and studio settings before you share the event.